

OGLESBY - This season so far has been a boon for my herb garden! Around Mother’s Day, I planted several herbs, including rosemary, oregano, parsley, cilantro, basil and sage, in an elevated raised bed.
This item is available in full to subscribers.
To continue reading, you will need to either log in to your subscriber account, or purchase a new subscription.
If you are a current print subscriber, you can set up a free website account and connect your subscription to it by clicking here.
If you are a digital subscriber with an active, online-only subscription then you already have an account here. Just reset your password if you've not yet logged in to your account on this new site.
Otherwise, click here to view your options for subscribing.
Please log in to continue |
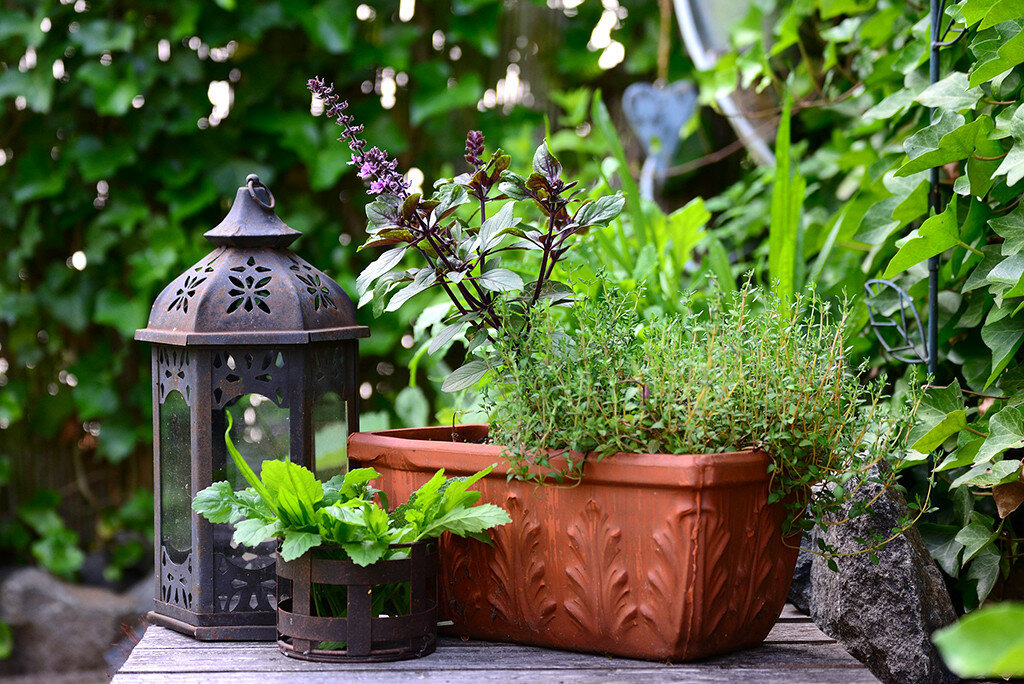
OGLESBY - This season so far has been a boon for my herb garden! Around Mother’s Day, I planted several herbs, including rosemary, oregano, parsley, cilantro, basil and sage, in an elevated raised bed. To date, I have harvested all but my rosemary and sage three times! Needless to say, I have enough pesto to feed an army already, and enough dried herbs to last me through the fall.
Whether you grow herbs in your landscaping, in your garden, in pots or in elevated beds, there is a proper way to harvest and preserve them. Today’s article covers how to properly harvest herbs, as well as ways in which they can be preserved through drying for future use.
Harvesting: There is no specific date or month when you should begin harvesting herbs. It is best to begin harvest as plants become established (bushy) or if they are starting to become leggy and before any flower buds open. Often, as with cilantro, once they have flowered, the taste of the leaves will diminish, and the yield will quickly dwindle. I tend to harvest smaller amounts more frequently, rather than large amounts less frequently, in order to promote new growth and a bushy plant. If you notice the herbs are beginning to flower, be sure to snip off the flower head. This will “trick” the plant into sending out energy to create more leaves.
Leafy annual herbs, such as basil, cilantro and parsley can be severely cut back by cutting just above a leaf pair and leaving approximately 4 inches of stem for future growth. Perennial herbs, such as oregano, rosemary and sage, on the other hand, should not be cut back as heavily. Proper technique is to remove only about the top one-third of growth.
It is best to harvest in the morning, once the dew from the night has evaporated but before the sun is high and hot. Herbs will have the greatest concentrations of oils at this time, which means a stronger flavor during use as fresh herbs or if you dry them. Use a sharp, small pruning tool to harvest. I use small pocket snips particularly made for herbs. These can be found at most garden centers or are easily found online. Be sure to clean the snips between plants so as not to inadvertently spread any disease.
Once you have harvested, it is always a good idea to wash herbs gently under cool water and set them on paper towels to dry before preparing them for drying or use in food preparation.
Drying: There are several methods used in drying herbs, but I will cover air drying and drying with heat. I have used both methods and have gotten very good results from both. As with anything, there are pros and cons with either approach.
The easiest and cheapest way to dry herbs is by air drying. On the “cons” list, you generally have to wait much longer for use of herbs dried this way. To dry whole branches or stems, bundle five to eight stems together (I prefer bundling less for quicker drying) and tie them with butcher’s twine. Place them in a brown paper bag with the stems pointing out of the bag and hang the bag in a warm (70-80 degrees F) dark, dry room. I have done this technique without the bag, and hung them to dry in a closet, which has also worked well. It takes about two to four weeks to dry this way. Short stemmed herbs can be dried on a drying tray, also in a warm, dark, dry place.
Drying with heat is the fastest way to getting herbs ready for long-term storage. One con with this approach is the cost of a food dehydrator, but some people use their oven and or their microwave for this method. Another negative is that if the herbs dry too quickly, they lose much of their flavor.
Most food dehydrators have an “herbs” setting, which should be around 105 degrees F. Before placing on trays, be sure to snip off as much of the stems as possible getting all the leaves. Drying takes anywhere from three-six hours depending on the herbs, so be sure to check them frequently. To use your oven, place herbs on a cookie sheet in the oven at 180 degrees F for three to four hours with the door open. Be sure to check on them every so often so you do not over dry.
For more information on herbs, please visit the University of Illinois Extension “Herb Gardening” website at https://web.extension.illinois.edu/herbs/.
Have questions for us? You can e-mail them to meo@illinois.edu or call the Extension office at (815) 224-0889. Please note that due to the COVID-19 epidemic, offices are closed until further notice.


